Saturday, October 30, 2010

O.P.I: From A to Z-urich

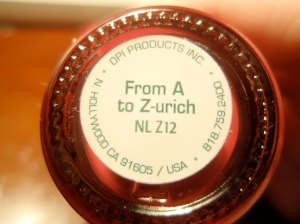
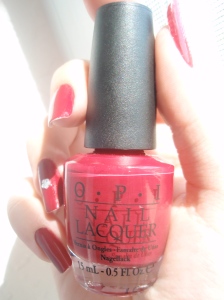
HAPPY HALLOWEEN! And because I have nothing Halloween-related to share, I've decided to make it review time! It's O.P.I's "From A to Z-urich"! So, buckle your seat belts and prepare yourself. :) Here's a picture of the bottom of the bottle and the bottle itself.

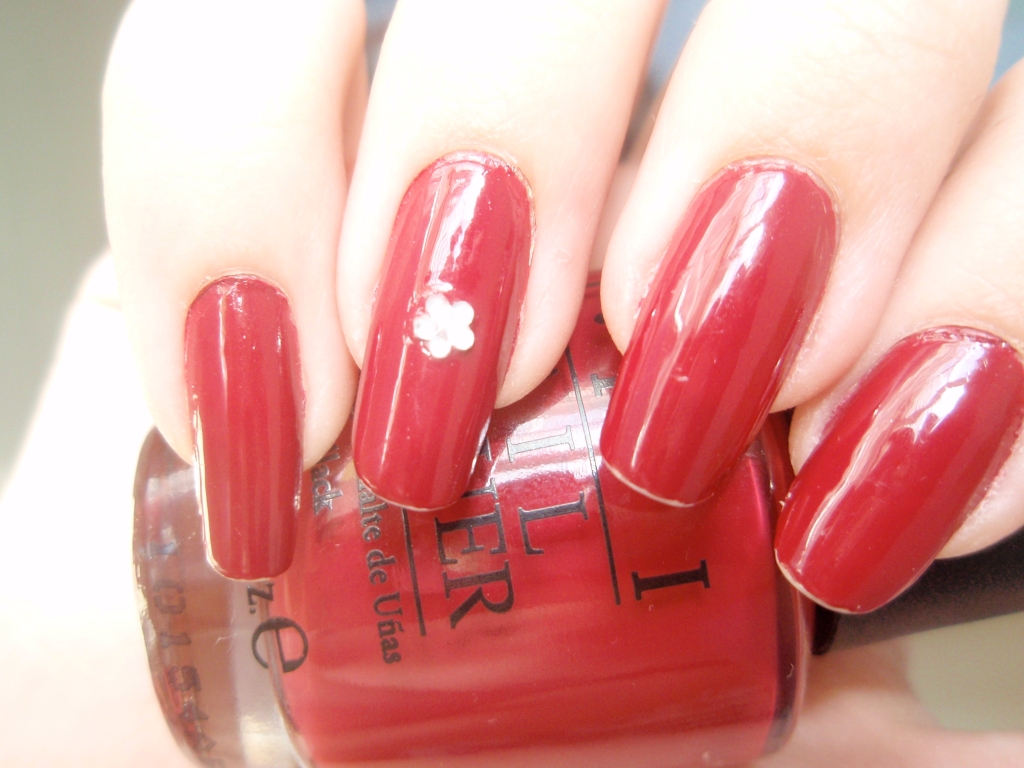
"From A to Z-urich" is a blood-red color from O.P.I's Swiss Collection. It's really bright and sanguine. Reminds me of red wine, but it's not purple-y. Lol. The application is awesome. It was practically opaque in one coat. But I would definitely recommend two coats. And me being me, I used three coats. And it was super smooth. The drying time was average/fast average. I don't really keep track, unless it takes a super long or short time to dry.

The picture in the photo is basically what it's like in real life. But keep in mind that I took the pictures in direct sunlight. So indoors the color is a bit deeper and darker. And I couldn't decide which photo to use, because I'm an indecisive person and because the photos look almost identical. So I just put up both. :D

I thoroughly enjoy and love this color. :D And I hope you do too. I hope everyone's Halloween is fun and spooky. My candy craze has already started. (I tootsie rolls) I carved my pumpkin yesterday. There shall be pictures soon. :D

~LinZ

Spider Web Nails!

Halloween is tomorrow! I didn't exactly have time to do a Halloween-themed nail design, but LUCKILY I had already done a design a year and a half ago that goes with Halloween! I'm bringing back my Spider Web Nails! :D Here they are! (Take note that the photo quality is horrible and the photo was taken with my web camera becuase I didn't know how to use a macro setting on my nice camera)


I think this was my very first nail art design EVER. :) Brings back fond memories. Lol. The colors are just any old plain white and black. :) Nothing special.

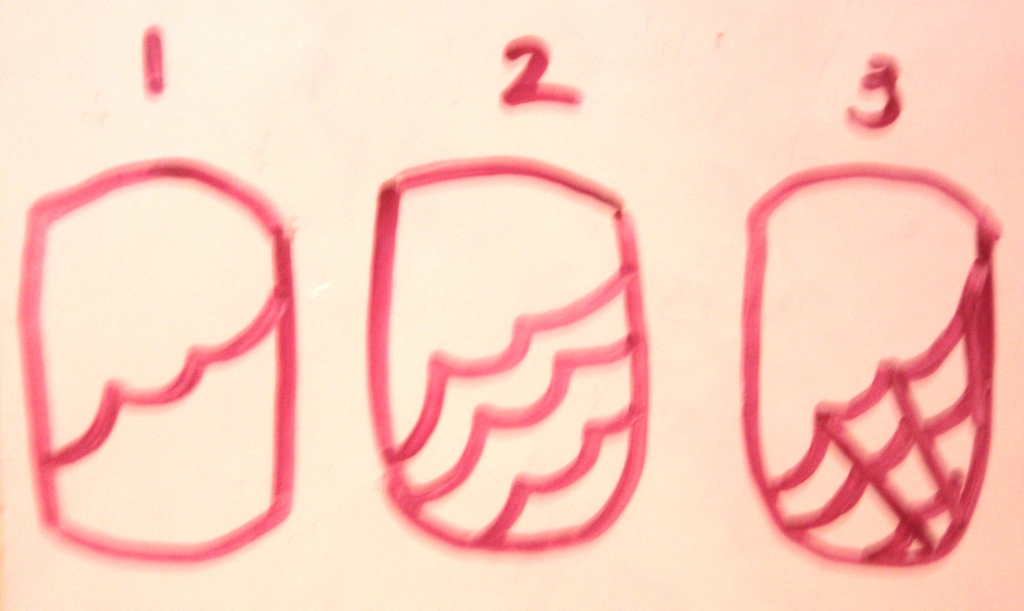
You'll need a thin paintbrush to make the thin lines of the spider webs. As for the spider, using the same thin brush, I painted a long oval for the body, then a triangle on the bottom (to give the pointed shape of the body). Then I made to very small lines on the top and then I added the legs. I can keep being confusing and try to explain this better in words, but instead I made little diagrams showing how I did the spider and the webs. :)
Here's the spider:
Here's the spider web:
I hope those helped! Excuse the sloppiness of them. I drew them quickly. And you don't have to do exactly what I did. You can totally do all webs or all spiders on your nails. :)
If you want, you can all check out my nail art designs and maybe you'll find something that goes with your costume! I hope everyone has a great and safe Halloween. :)

~LinZ

Friday, October 29, 2010

Breast Cancer Awareness

October is Breast Cancer Awareness Month!

I know. It is rather late to be posting this considering how it's almost Halloween, but in all fairness, I had this nail design over a week ago. I just didn't get a chance to post up pictures!
Anyway! Paint you nails pink! Let people KNOW and be INFORMED about breast cancer.


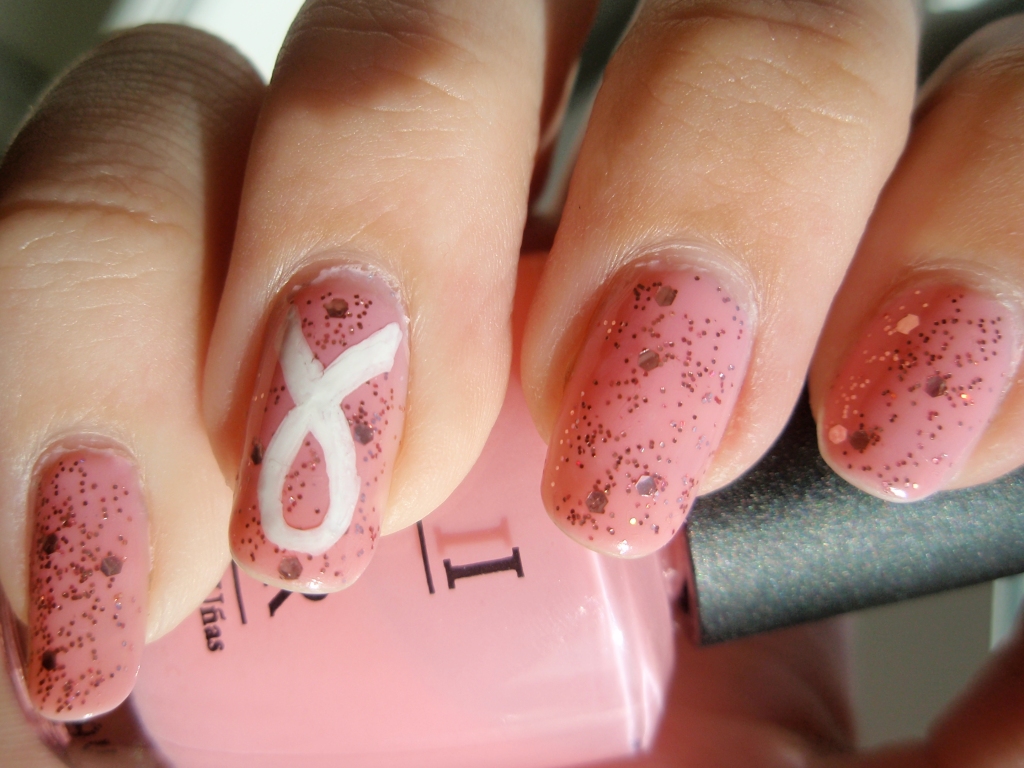
I used O.P.I's "Heart Throb" as a base color and layered on Deborah Lippmann's "Some Enchanted Evening" to add some SPARKLE. To make the white ribbon, I used Sally Hansen's Nail Art Pen in White.

I loved this combination of colors and I love what it represents.
Hope.

~LinZ


Tuesday, October 26, 2010

All Moved In!

I am officially moved in! I have finished moving all of my posts from my WordPress blog onto here! I can FINALLY start posting new things! It's rather exciting. :) There's still a few things that I have to adjust, but all my old posts are finally up here, so it's all good!
I don't have the heart to delete my old blog, so I think I'm just going to leave it alone for now. Maybe I'll delete it one day.
I have a bunch of nail art designs and new nail polishes to review for future posts! And I might even re-do some of my old reviews on polishes. Just so I can have better pictures and whatnot. :)
I want to thank everyone and anyone who has checked out this blog. I appreciate it so much!
I'm going to give a sneak preview of SOME of the things that will be coming shortly. I have A LOT more coming than what I'm telling you. I have a month's worth of things to post. And so far I've done my nails 13 times this month. WOW. That's not normal. Even by MY standards. Oh well. :) Here's what to be expecting:
  • Nail Design: Breast Cancer Awareness
  • Nail Design: Pretty in Pink
  • Nail Design: Funfetti Nails
  • Nail Design: Blue with White Dots
  • Nail Design: Palm Tree Nails
  • Nail Design: Black with Yellow Dots
  • Review: O.P.I's "From A to Zurich"
  • Review: Deborah Lippman's "All That Jazz" Set. (Includes 3 polishes)
  • Review: China Glaze's "Shower Together"
  • Review: China Glaze's "Spontaneous"
  • Review: Revlon's "Minted"
THANK YOU!

I LOVE YOU ALL!

~LinZ

Art Deco Nails


ORIGINAL POST DATE: September 22, 2010

I was playing around with lines and colors and I ended up with this:


Colors Used:

  • O.P.I: Fiercely Fiona
  • China Glaze: Solar Power
  • China Glaze: White on White
I took pictures, step by step, of how I did the design. So I'll hopefully have another post with a tutorial on how to do this. But until ten, enjoy the pictures! I never intended on making "Art Deco Nails" but they sort of just happened.
Well, I've been super busy lately, as you can tell by my lack of updating frequently. But I promise I will try my best to update as often as I can!
♥ ☮
~LinZ

Friday, October 22, 2010

Peace Nails! ☮


ORIGINAL POST DATE: September 16, 2010

Hello! I am more than just busy or stressed. I have never been so out of control in my life. There are SO many things that need to be done. So this is just a quick nail design post. I won't really be able to say much about it. But I couldn't just NOT post something.


The base color is "Grape Juice" by China Glaze. :)
And I used Sally Hansen's nail art pen in white to make the letters. :)
By the way, the thumb has a "P" on it, so it spells "PEACE". lol.
I hope you like them! I actually only kept them on for about a day. Lol. That happens WAY too often.
The pink and the green are super neon bright. VERY colorful. VERY psychedelic.
We could a use a little peace in our world. :)
I took pictures of my nails as I did each step of the design, so I might put up a tutorial later.
And I'm so tired. I pulled an all-nighter last night. Not healthy. But it was necessary.
For a while, expect most updates on the weekends!~
♥ ☮
~LinZ

Thursday, October 21, 2010

O.P.I: Fiercely Fiona

ORIGINAL POST DATE: September 9, 2010

The name of this polish is slightly ironic because there is a hurricane named Fiona that is out and about right now. Lol. Anyway, as promised, here is my review on O.P.I's Fiercely Fiona.

Here are the photos of the bottom of the bottle and the bottle itself:

When I was in Trade Secret, I wasn't sure if I wanted to get this color or not. I had seen pictures of the color, and I thought it was nice, but I wasn't sure if I would wear it. So. Here we go.

You see, in the bottle, the color looks like it might have some green in it. And maybe because this color is part of O.P.I's Shrek Collection, I associated this color with green. But actually, it's just yellow! The photo's color is pretty much spot on, so you can see that it's kind of a pastel yellow. It's not dull like pastel, because it's bright, but it's not like "Solar Power" where the yellow is bright like the sun.

It's a creme polish that goes on super smooth! I used three coats, which is my norm. I used thin coats, so maybe you can get away with two thick ones.

I ended up loving this color! It seems that every color I review, I love. I don't do it purposely. It just happens. "Fiercely Fiona" is great color for the sunny months, like summer, and it's also a nice spring color. But the fall is coming up. So... maybe now isn't the best time to wear it. Lol. But I'm wearing it anyway. I don't really follow the season colors anyway. I just wear what I think is pretty, regardless if it's black in summer or yellow in autumn.

♥ ☮

~LinZ

Rhinestones, Nail Art, and Konad!

ORIGINAL POST DATE: September 7, 2010

It's an EXPLOSION of new things!

My order came in! And the lady gave me four things for free! I had ordered the two rhinestone wheels and the black and white Konad special nail polish. But the I got a free L.A. Colors Rapid Dry Top Coat, free mini silver rhinestones (on the bottom left), some interesting bead tattoos (the butterflies), and a free package of some stick on nail art.

I took pictures of all of them! And close up pictures for you all to see exactly what I got. If you care. Lol.

These are round-shaped (the normal kind) rhinestones. These are pretty large, but that is what I've been looking for. I'm excited to use these!

These are my heart-shaped rhinestones! I'm REALLY excited to use these. I've never had any fun-shaped rhinestones. I always just had the round ones. So, expect lots of designs using these heart rhinestones!

~

This was a freebie!

I probably wouldn't have bought this if I saw it in a store. Mainly because it's stick on nail art. I don't like stick on things because usually they look cheap and tacky. BUT! I like these! But instead of sticking it to my nail, I remove the clear sticky part, and apply the rhinestone/design to my nail with a clear coat. Oh! By the way, this is from L.A. Colors

~
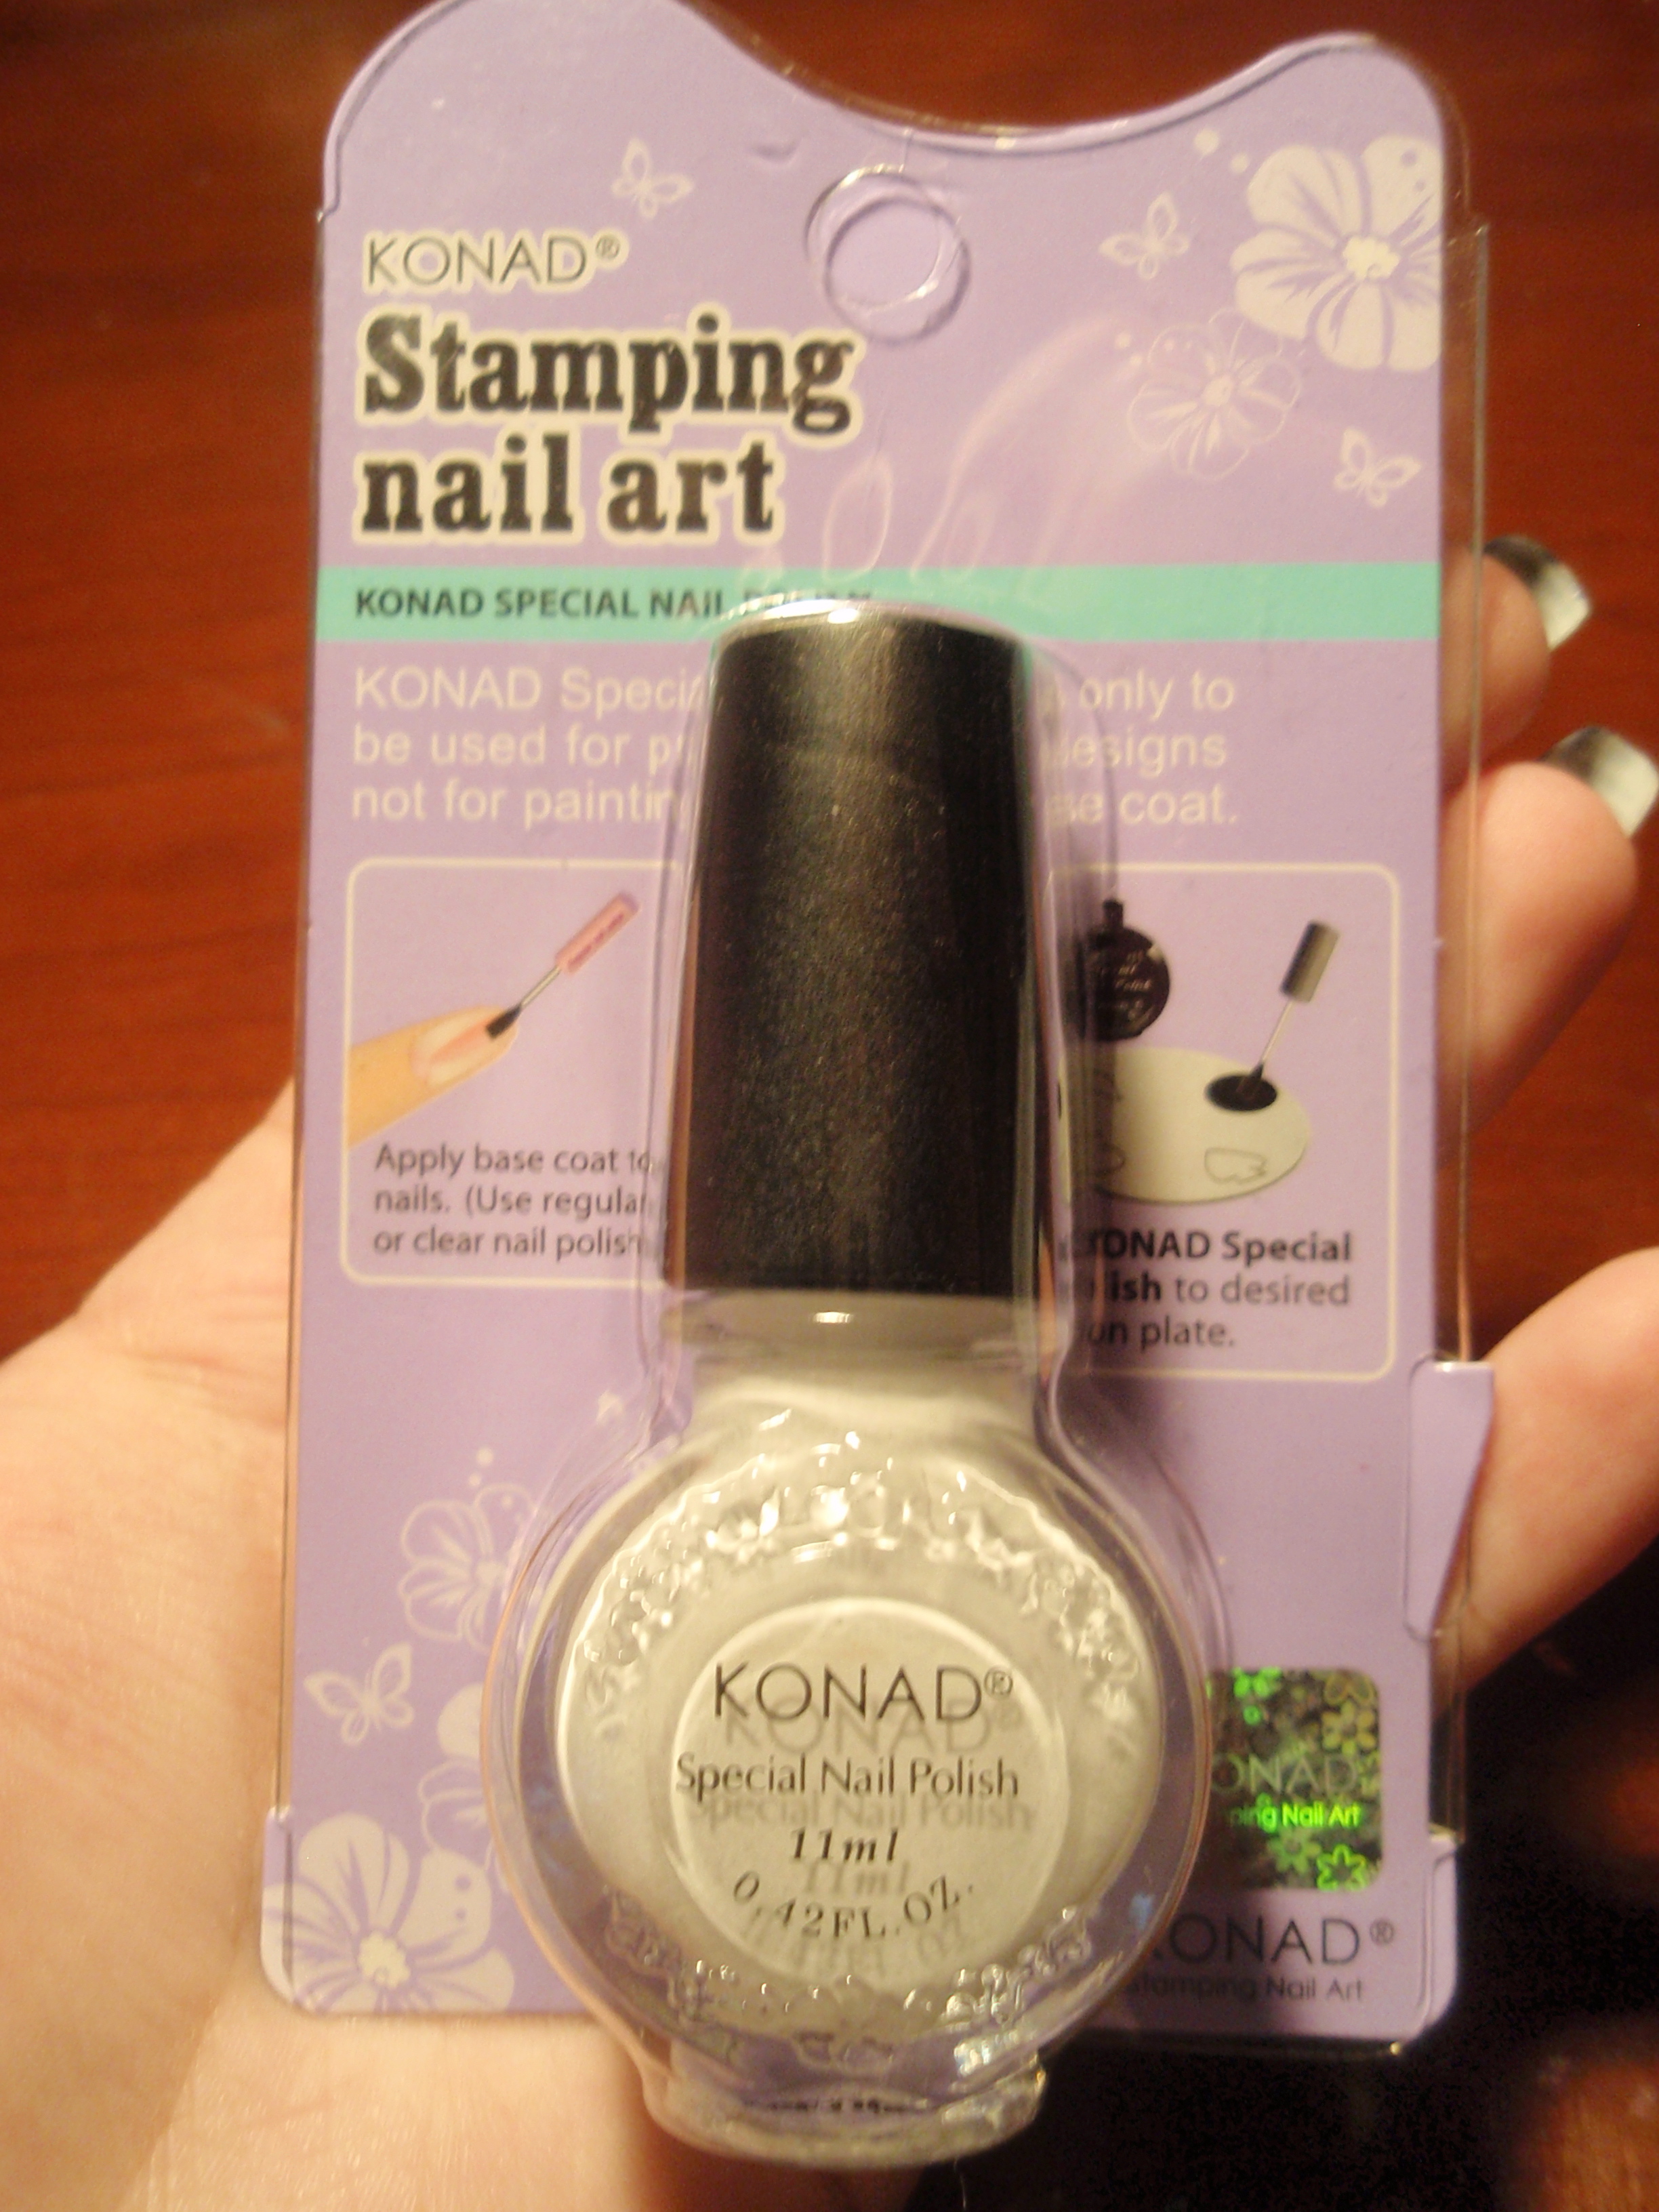
Konad Special Nail Polish! I never really used Konad because 1.) I was bad at it, 2.) The only special nail polish color I had was silver, 3.) I have very few design plates. Well, I've practiced and have gotten a lot better and I am now the proud owner of two more colors of special nail polish, which will let me give variety to the designs. I didn't get anymore plates. :( I want to, and I think I will in the future. I just don't have any new ones now.

This was another freebie! It's slightly ironic that I JUST got a new dry fast top coat. But hey, now I have another one. It's a different brand. Maybe I'll do a review, comparing L.A. Colors Quick Dry Top Coat with my Seche Vite Dry Fast Top Coat.

But just by looking at the two clear coats, I know that L.A. Colors Quick Dry Top Coat is more liquidy, like water, while Seche Vite is thicker.

I'll have to try this out and see how good it is. :)

~


Another freebie! I have to say, these are my favorite kind of rhinestones. They're small, silver, elegant, and overall perfect!

I really should get more of this size.

~

This was a freebie as well. Lol. Let me start by saying this doesn't go on your nails. The butterflies are as big as my entire thumb nail. And on the back it says "For skin, cloth, or accessory items."

It seems kind of random to throw this in, but whatever. It was free.

This product is some kind of "bead tattoo" that I have no idea what I'm going to do with. Lol. But it's pretty, so I'm sure I'll find a home for it somewhere.

I'm sure you can guess whether or not I had a good day. Lol. Expect to see all these products used (except the butterflies) in the near future!

♥ ☮

~LinZ

Wednesday, October 20, 2010

Vintage Nails


ORIGINAL POST DATE: September 6, 2010
As I promised in my post, What's Coming Soon, here is my Vintage Nail Design!
Products Used:
  • O.P.I: You Don't Know Jacques!
  • Konad Special Nail Polish: Silver
The best thing about this design is that it is SO simple, but it has a really nice look about it. When I was made the design, I wasn't trying to make a vintage look, but when it was ll done, I looked at it and thought "vintage" described the style perfectly!
This photo on the left shows the silver flowers better. :)
To make this design, I started with three coats of "You Don't Know Jacques!" and waited for it to dry. If you want to know more about this color, click myReview for it.
Then I used the Konad Special Nail Polish in silver, and using a flower design, I stamped on the silver flowers.
After applying the Konad polish, I made sure to wait until it was dry before putting on the top coat because other wise the flower designs will smear. Especially with the silver polish because then the base color (You Don't Know Jacques!) will have a silver shimmer to it. Unless that's the look you're going for!
And here are some more photos!
What's kind of funny is that when I first did this design, I actually wasn't too crazy about it. But then it warmed up to me. And then I really started loving it. That happens to me a lot. Or the reversal, when I like something and then I slowly start disliking. That happens a lot, too. LOL.
I hope everyone in the U.S. enjoys Labor Day Weekend, and everyone else in the world, enjoy your weekend!
♥ ☮
~LinZ

Tuesday, October 19, 2010

Valentine's Nails ♥


ORIGINAL POST DATE: September 5, 2010
Well. It is September. Is it odd that I have a Valentine's Day nail design when it's not even remotely close to February 14? Well, I have an excuse. This nail design was actually one of my submissions for PHD's Nail Design Challenges. You can check out the nail challenge entries for that week HERE!
Products Used:
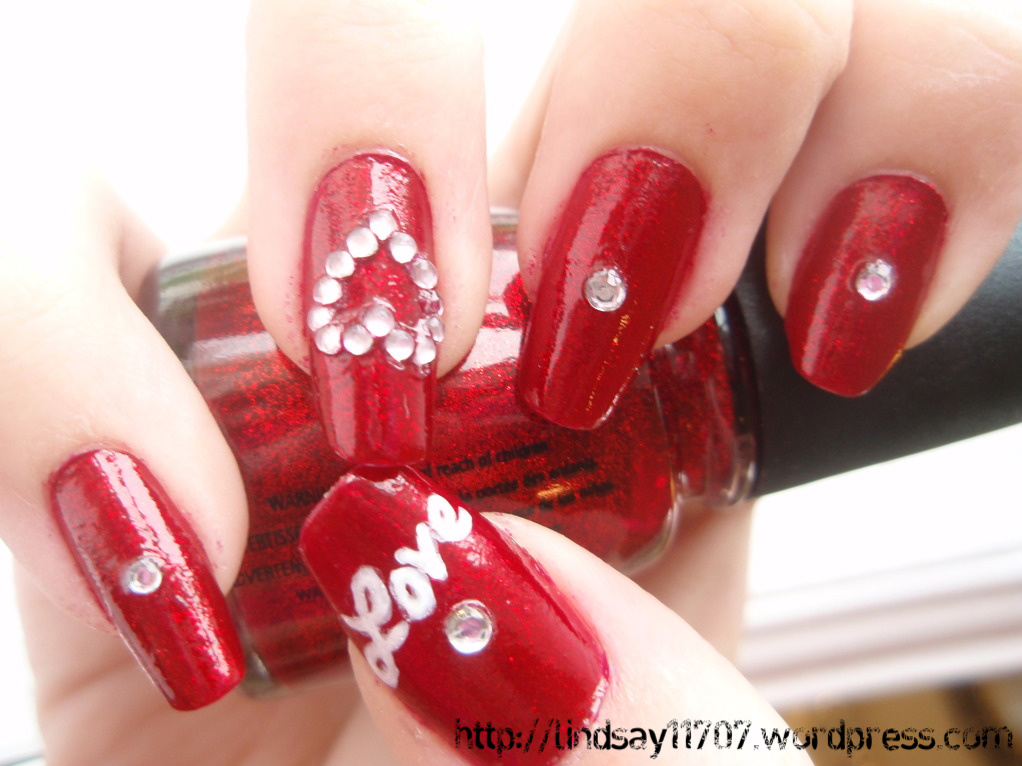
  • China Glaze: Ruby Pumps
  • Sally Hansen Nail Art Pen: White
The design was super easy. It's hardly a design at all! Lol. I only used one nail color, but I guess technically there was still a thought process behind the nails, so it's a design.
First, I painted my nails three coats of Ruby Pumps, then in the center of each nail (excluding the fourth), I applied a large rhinestone. On the fourth nail I made a rhinestone heart out of small, silver rhinestones. I enjoyed that. Lol. I wrote the "Love" using the white Sally Hansen's Nail Art Pen.
I don't know if I'll put an entire review on this product or not. Maybe one day I will. But for now, I'll just tell you the important things.
I got it at Walgreens for about $8. I'm pretty sure that was the price. With this nail art pen, make sure you shake it well, BUT after shaking, open it SLOWLY, otherwise it'll spray everywhere... I talk from personal experience. And the product washes off with water, which is good, in case you make a mistake, but that means you HAVE to put a top coat over it.
So that's what I did. After I wrote "Love" I put on a top coat, and I was done! :)
♥ ☮
~LinZ

Seche Vite Dry Fast Top Coat

ORIGINAL POST DATE: September 4, 2010

Well, the title basically says it all. Seche Vite is a fast-drying top coat for your nails. I'll start with some photos, then dive into the review! Here are the mandatory pictures of the bottom of the bottle and the bottle itself:

It seems like all the nail blogs I've visited use Seche Vite. Whoever uses it seems to SWEAR BY IT. Everyone says it's the best top coat to use. So. I researched it. I looked it up on Sally Beauty Supply's website, and checked out the reviews that people gave the product. It was HIGHLY recommended by everyone. But some people complained about the strong smell. So, of course, I had to get it and see for myself what's up with this top coat.

I got it just two days ago, and have already used it on my nails. Let me get this out of the way. The smell? Well, yes, it's rather strong if you put your nose up to it. Lol, But if you can avoid that, I think you'll agree with me when I say that I just found my new top coat.

It goes on smoothly and it dries super fast! In seconds! And it makes your nails feel hard and strong. There's no way your polish will chip.

It's long-lasting and makes your nails super shiny!

I used to have problems with other top coats because there would be little air bubbles in the clear coat, and then they would show up on my nail design, ruining it. Seche Vite does not do that.

I got Seche Vite at Sally's for $7.99, and it is completely worth the money.

I HIGHLY recommend this to anyone. A good top coat goes a long way.

♥ ☮

~LinZ